


This kit was a siren song to my chronic, raging AMS (Advance Modeling Syndrome). Original photographs show St. Chamond tanks in the field with a bewildering variety of paint jobs, nick names, hull art and then there are lots of neat open hatches that cry out for interior detailing. Add to this the different muddy scenic bases or dioramas this tank can be easily dropped into and you will understand the smile I had on my face as I rode the train back to my apartment in Tokyo.
Background
The French hit a home run with the plucky little FT17 but other than that nothing notable came off the drafting boards of French armor designers. The first French heavy tank was the CA1, manufactured by the company Schneider. Feeling the urgent need for more tanks at the front, the French government placed an order with a rival company, Forges et Aciéries de la Marine et d'Homécourt (FAMH) for 400 vehicles, assuming they would build CA1s.

As it turned out Schneider wouldn't provide patented blueprints without a licensing fee, and FAMH were unwilling to pay. Instead, they took the opportunity to upstage Schneider and designed their own vehicle with improved armament and thicker armor.


This kit has a fairly light part count compared to some. Not including the individual link tracks there are only 258 parts and most of these are found in the complicated suspension. The molding is outstanding and without ejector pin marks or flash. The detail is crisp and clean. The standout parts are the Hotchkiss M1914 machine guns.

Most of the assembly work takes place in the suspension. This is sad because when the tank is done and turned right side up most of the intricate detail is lost, especially you plan to muddy it up like I did. More on that later.


The hull goes together cleanly for the most part, though I
did feel the need to apply a little putty to clean up some fiddly seams. This was more my fault than the kit’s
though. The 75mm gun barrel comes in two
pieces which did require some filling and sanding.

The individual link tracks were confusing at first, but once I settled on a system for putting the tracks together they went together in no time. Each link was made up of three parts but only one needed to be glued. The other parts snapped in securely making the track runs fully functional. I should note too that other than trimming off the spot where the parts came off the sprues, the track parts required no additional cleanup what so ever.

Painting and
Weathering
Like I mentioned earlier, this model really spoke to my chronic AMS. As luck would have it, certain circumstances forced me to build it stock box however. In the end this turned out to be a relief. It was gratifying to be able to finish a project in about a week as opposed to the months that would have passed while I got lost in the paint job and interior scratch building.
Like I mentioned earlier, this model really spoke to my chronic AMS. As luck would have it, certain circumstances forced me to build it stock box however. In the end this turned out to be a relief. It was gratifying to be able to finish a project in about a week as opposed to the months that would have passed while I got lost in the paint job and interior scratch building.

 |
| I had plenty of good references for scratch building a nice interior, but held off in favor of doing a stock box build. |


The later pointillist schemes seem to have been applied over
the earlier cubist schemes so this was the logical place to start. The painting directions in the kit are very
incomplete, showing only the left side of the vehicle. Also, the camouflage pattern provided for the
vehicle I wanted to portray, “Fantomas” showed an earlier disruptive scheme but
period photos showed the tank with a field applied pointillist pattern. There was no suggestion for how to paint the
roof of the tank.

 |
| Two period photographs of Fantomas. These photos seem to show that the 'pointillist' camouflage scheme was added to at different times over the life of the tank. |
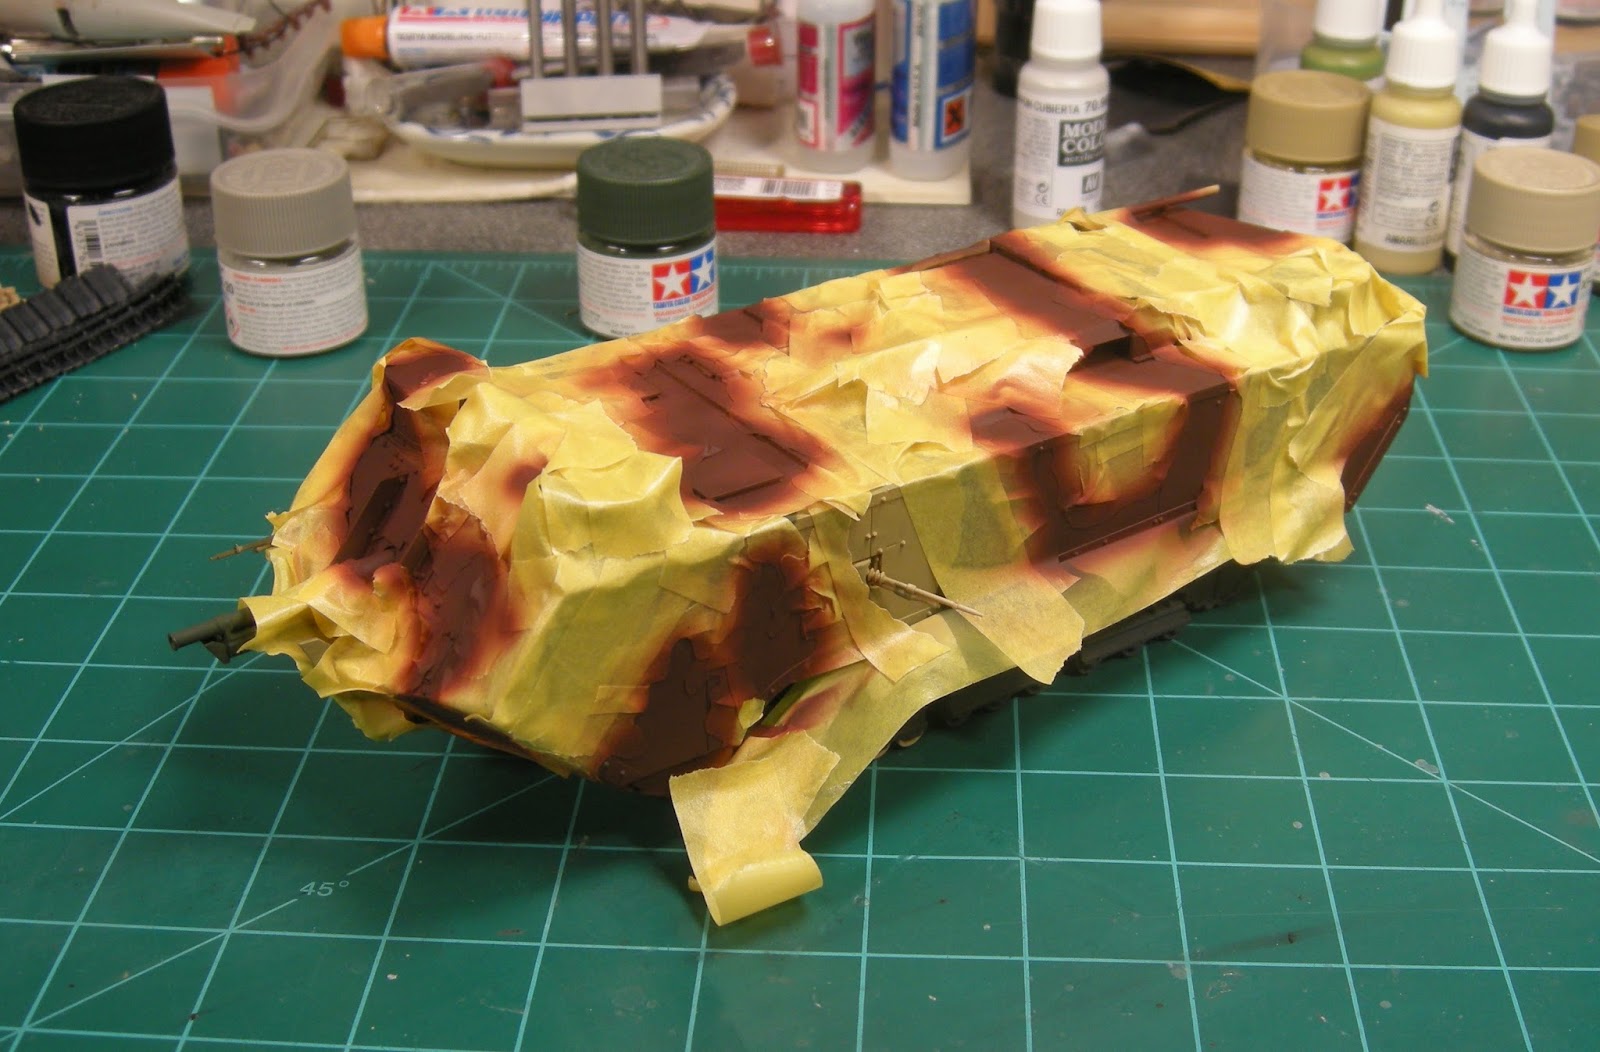
I used a fair bit of yellow Tamiya tape for masking. It was fairly simple but did require some
thinking ahead to keep the colors even and realistic.


Weathering
My first step was to airbrush the running gear, tracks and lower surfaces of the tank with XF-52 Flat Earth. This would serve as the base for mud to be applied later. I followed this with a simple wash of black artist oils to give depth and definition to the rivets and panel lines. I paid particular attention to the vertical surfaces and gave them streaks running up and down.
My first step was to airbrush the running gear, tracks and lower surfaces of the tank with XF-52 Flat Earth. This would serve as the base for mud to be applied later. I followed this with a simple wash of black artist oils to give depth and definition to the rivets and panel lines. I paid particular attention to the vertical surfaces and gave them streaks running up and down.


Once the pastel paste was dry I used a stiff bristle brush
to blend and soften lines where the mud was applied.


The final weathering step was a light dry brushing with
light beige pastel chalk to bring out all those beautiful rivets and really
make the sharp detail pop.


