
Israeli armor has always intrigued me, especially the AFV’s of their earlier wars that I remember as a kid, watching on the evening news.


Fast forward a
few decades and I still wanted to model an IDF M48. I took my time doing research and collecting
the right components. Finally, I had
everything I needed; the venerable, if aged Tamiya M48 kit, photo etch sets
from Eduard, resin sets from Verlinden and Legend, tracks from AFV Club. I was ready.
It was at that moment I ran into this guy named Murphy…
There is a
corollary to Murphy’s Law that is well known to scale modelers. It states,
“As soon as a modeler has collected
all the aftermarket parts needed for a conversion project, a major model
manufacturer will announce that it is now mass producing the exact same subject
in styrene.”
When I saw Dragon’s
announcement of a new kit of the M48A3 this was pretty much the look I had on
my face:


The Dragon kit is outstanding and fixes just about all the inaccuracies I was going to have to sweat over on the Tamiya kit. The biggest problem with the Dragon kit is that it doesn’t come with a mantlet cover or searchlight. Fortunately for my purposes, this didn’t matter since I was going to replace pretty much everything from the turret ring up.


The Legend conversion set also came with a nice resin L7 gun barrel. It went on just fine and I proceeded with the build. Sometimes unfortunately I get blinders on when I build and I missed something terrible until I started taking photographs of the finished build. See for yourself:


 |
| The aluminum barrel did not have the bellows and cover so I cast a replacement mold from the droopy resin barrel. Once the mold was set I was able to insert the replacement barrel in and cast the resin bellows around it for a nice perfect snug fit. |


 |
| I was as careful as I could be while removing the warped barrel, but one of the searchlight mounting brackets snapped off and was lost to the carpet monster. |
 |
| Making a new arm for the bracket wasn't a problem but I didn't have a round piece the same size for the bracket end piece. A grudging trip to do grocery shopping with my wife paid off when I noticed these cake sprinkles in the baking aisle which were the perfect size. |

Some modelers can get pretty worked up about the ‘correct’ colors for military vehicles. While I believe that there can definitely be a ‘wrong’ color for a given vehicle, experience has shown me that there is almost never one ‘right’ shade. A myriad of factors can and do affect how a vehicle can appear. Anything from at which factory it was produced to how the maintenance crew mixed paint that was applied in the field will radically alter how a tank or truck can look.


To make the
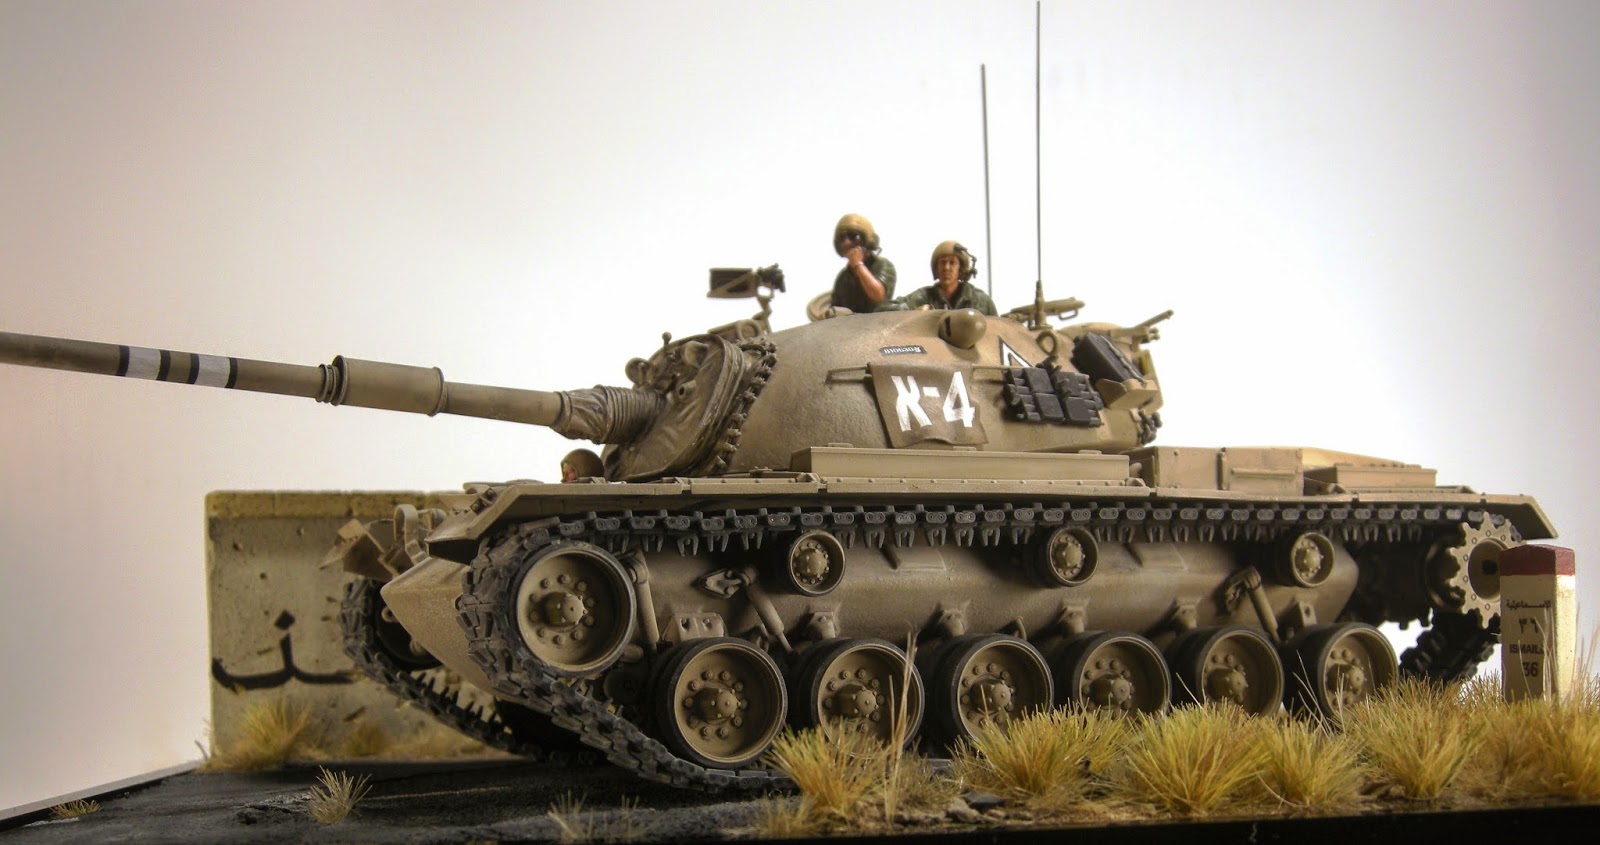
markings I cut positive masks from yellow Tamiya tape for all of the insignia
and painted black borders (which were more common by the time of the Yom Kippur
war) by hand. Platoon markings were commonly painted on canvas drapes which could be easily removed. I fashioned these out of Apoxiesculpt.


The stowage in the bustle rack is from the spares bin and tarps made from facial tissue. The straps for the jerry cans was made from lead foil. The yellow air recognition panel is made from Apoxiesculpt rolled out, draped out and left to dry.

The figures are pirated from the Tamiya Tiran 5 kit. They are just about the only game in town for IDF tankers circa 1973. Verlinden did a nice set back in the 1970’s but unfortunately they are 1/32 scale. The Tamiya figures are very nicely posed and have nice detail though it is slightly soapy as many Taimya figures are. The loader benefited from a head taken out of the Hornet Vietnam US Tankers set. The driver is from the spares box, also with a Hornet head.

This project started as a simple idea for a scenic base. I wanted to a base showing the M48 on a desert road with maybe a mile marker like the one I saw on TV back in 1973. One thing led to another and I added many more details and another figure which turned the project into more of a diorama than a simple tank on a base.

The scene takes
place on the Egyptian side of the Suez canal during the IDF counter attack in
the final stages of the war. The M48 is
pursuing Egyptian forces towards Ismailiyah and is under observation by an Egyptian
soldier.
I originally planned to construct the scene with
Egyptain soldiers surrendering to the tank but even though they were in retreat
in this phase of the war, the Egyptian army fought well and inflicted heavy
casualties on the attacking IDF forces.
So, the Egyptian soldier is reporting on the IDF troop movements instead
of waving a white flag.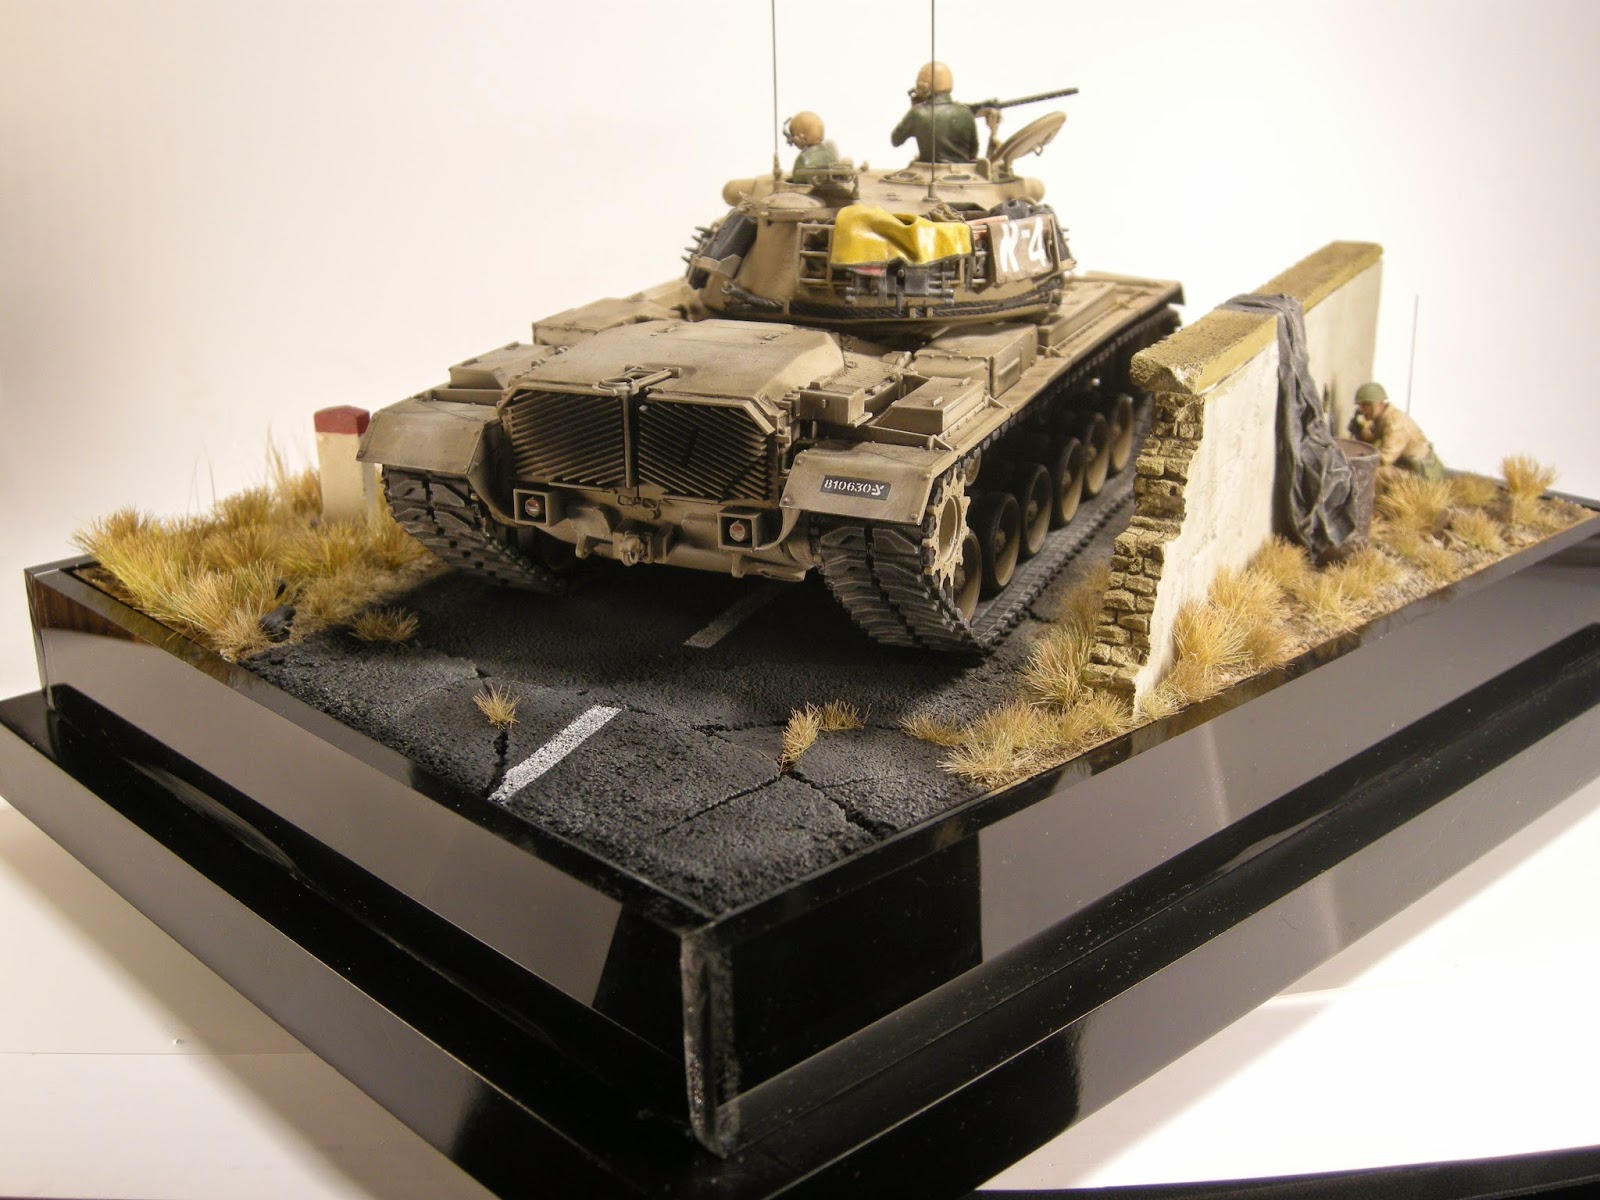
The base is my old standby; an inexpensive picture frame from Walmart. I used sheet styrene and clear acrylic to frame the raised base. I used green floral Styrofoam to serve as a base for the ground work.

I had never attempted to reproduce asphalt pavement before and this was deceptively simple although a bit messy. I mixed white glue with beach sand and lack craft paint. This particular sand came from the North Shore in Hawaii. Yes, I am that guy who brings home a big baggie of sand from the beach whenever the family takes a vacation because I might need it for a diorama sometime in the future. My wife still rolls her eyes at me.

Once I had a good gooey mix I laid out some plastic wrap and rolled out as even and flat a sand-and-glue pancake and I could. Then I focused a desk lamp with a 100 watt bulb on it and left it to dry overnight.

The next day it was still somewhat pliable so I could trim it to size and place it in the base. The side of the pancake that was against the plastic wrap was flat and perfect. This might work for a road in some perfect road in the Western Hemisphere but it definitely did NOT look like any road I have ever seen in the Middle East. I cracked and broke the ‘asphalt’ to create realistic potholes and parting lines and generally disturbed the level of the road. It looked much better after that.


Before painting I sealed the road with Future floor polish. This was because my sand pancake was still very porous and would have sucked up any painting or weathering I planned later on. I also had bits of sand detaching from the asphalt and getting everywhere on my work bench. It created a real mess. Once it was sealed, I painted the road a very dark gray, not black then post shaded with XF-55 Deck Tan. The lines were simply masked and painted off-white. I finished it off with a dusting of light brown pastel chalk and added scrub grass growing in the cracks and potholes.

What little area was left I covered with Elmer’s Wood Putty for the ground work. While it was still wet I stippled it with a stiff brush to create a sandy looking surface, then sprinkled and carefully placed rocks and gravel.

The wall sections are from the Verlinden Garden Park Wall set. They are plaster and needed the seam covered. I did this with patching plaster which I sanded smooth. I did the Arabic writing by hand. It reads, ‘Al nasr lena’ (النصر لنا) which means “Victory to us”.

The mile marker stone is a main focal point of the scent so I spent some time trying to find one. After much disappointment I was resigned to having to make one myself when I ran across some very nice plaster pieces from Juweela. The writing on the stone is a decal I printed on Testors decal paper with a ink jet printer. I searched far and wide for a color photograph of similar mile marker in Egypt and came up empty. The closes thing I found was this photo of one in Tunisia. It looks very similar so I painted the top red, which adds a very welcome dash of color.


The figure of the Egyptian soldier was a challenge. Surprisingly (or not), there are no figures of circa 1973 Egyptian infantry out on the market. I cobbled this one together from three different figures from a Dragon Soviet figure set and two German figure sets. It took a fair bit of Apoxie Sculpt to get it to look like he was from an Arab army. Luckily, the Egyptian army in 1973 was using Soviet equipment almost exclusively which is fairly easy to find. The radio is from the Verlinden Sagger anti-tank missile resin set.


As a final detail I added a rotation base and rubber non-slip feet. This is simply a ‘Lazy Susan’ style swivel fixed to the bottom of the frame. The rubber feet are found in many varieties in the cabinetry section of the local home improvement store.


And finally I have some comments on the value of photographing your builds; besides the unpleasant surprise I got when I noticed the drooping barrel, as I went over the photographs for this blog entry I also noticed one of the return rollers was seriously askew. Again, I don’t know how this got past me but I’m very glad it showed up so prominently in the photo so I could fix it before I put it out to be judged on a contest table.
